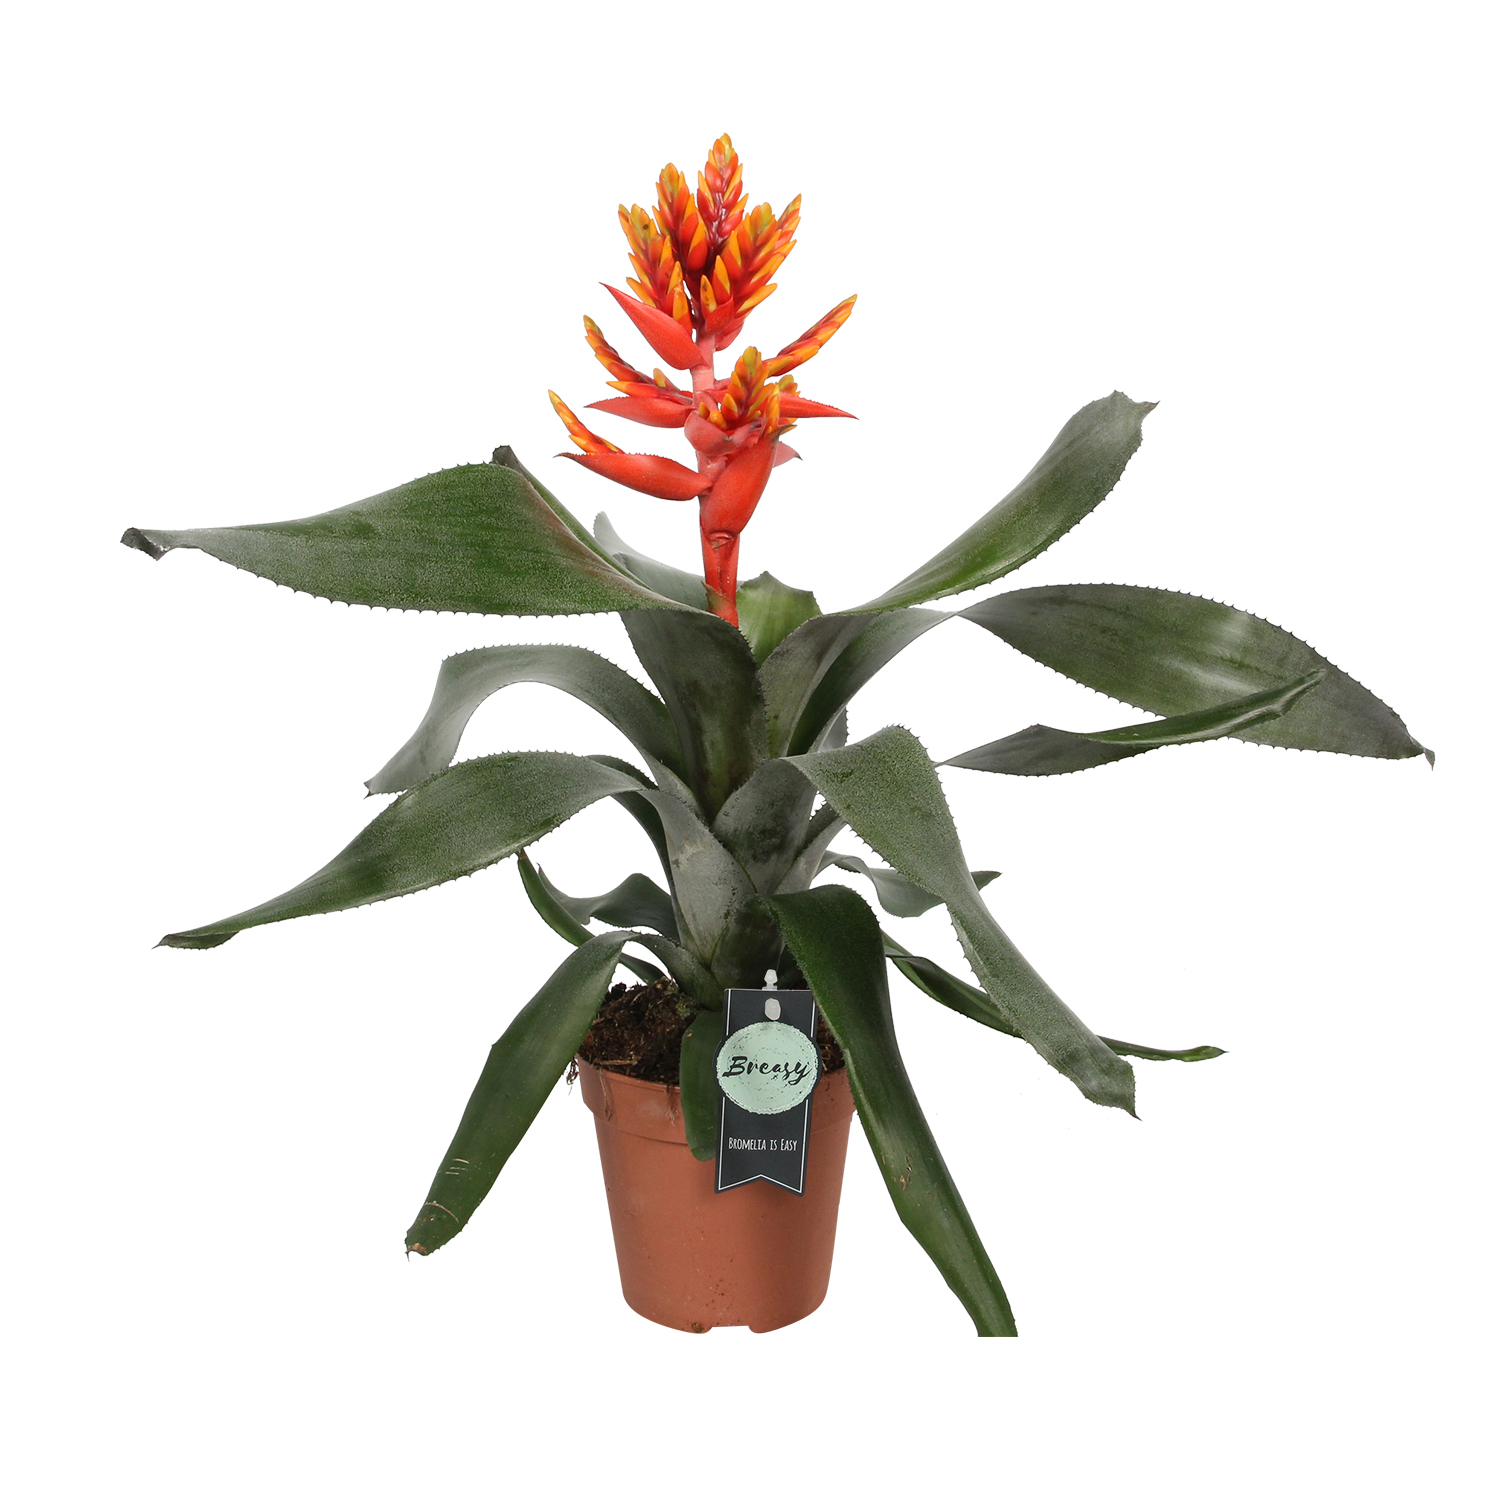

Bromeliads are fascinating plants that not only add a tropical touch to any space but are also relatively easy to care for. Native to Central and South America, bromeliads belong to the Bromeliaceae family, which includes more than 3,000 different species. They are known for their bright flowers and hardy leaves, making them a popular choice for both gardens and indoor settings. If you’re looking for tips on how to care for a bromeliad, here’s a step-by-step guide to ensure your plant grows healthy and beautiful.
1. Choosing the Right Variety
Before focusing on the specific care of bromeliads, it’s important to select a variety suited to your conditions. Some bromeliads are better for indoor environments, while others prefer being outdoors. Common types include:
- Aechmea: Popular in gardening due to its spike-shaped flowers.
- Guzmania: Known for its bright, long-lasting flowers, making it ideal for indoor settings.
- Neoregelia: Features vibrant-colored leaves, perfect for decorative purposes.
- Tillandsia (air bromeliad): Requires no soil and can be placed on decorative objects.
2. Light and Placement
Bromeliads need a moderate amount of light to thrive. While they’re not as demanding as other plants, it’s still crucial they receive the right amount of light to bloom:
- Indirect light: Most bromeliads prefer filtered light, avoiding direct sunlight which can scorch their leaves.
- Ideal for indoors: Place them near an east- or west-facing window for indirect light, or under artificial lighting if they’re in low-light areas.
- Temperature: As tropical plants, bromeliads do best in temperatures between 18°C and 30°C (64–86°F). Avoid placing them in cold spots or drafty areas.
3. Watering: The Key to a Healthy Bromeliad
Proper watering is essential for bromeliads. Although these plants are quite hardy, it’s easy to make mistakes. Here are some recommendations:
- Avoid overwatering: Bromeliads have a natural “tank” formed by their leaf bases where they store water. You don’t need to water them like other plants; the key is to keep the tank filled regularly.
- Water in the rosette: Fill the plant’s “tank” with water, but make sure to empty it if there’s excess standing water to prevent leaf rot.
- Watering the substrate: Bromeliad roots don’t need as much water as other plants, since they mainly absorb moisture through their leaves. If you do water the substrate, do so sparingly and ensure good drainage.
- Type of water: If possible, use distilled or rainwater, as bromeliads don’t tolerate hard water well (high mineral content). If you use tap water, let it sit for a day before watering.
4. Humidity
Since bromeliads are tropical plants, they need high humidity to thrive. If your home environment is dry, here are some ways to increase humidity around your plant:
- Tray with pebbles: Place your bromeliad on a tray filled with pebbles and water. The water should only reach the pebbles, not the plant’s roots.
- Humidifier: Using a humidifier near the plant can help maintain the right humidity level.
- Mist the leaves: Lightly mist the leaves (avoiding the rosette) to keep adequate humidity, but be careful not to overdo it to prevent fungal growth.
5. Fertilizing
Bromeliads don’t require much fertilization, but the right fertilizer can help them grow and bloom. If you decide to fertilize:
- Frequency: Use a diluted, water-soluble fertilizer about once a month during the growing season (spring and summer).
- Type of fertilizer: Choose a balanced formula with low nitrogen. Some gardeners prefer liquid fertilizers specifically designed for bromeliads.
- Avoid fertilizing during bloom: Don’t fertilize when the bromeliad is in bloom, as it may interfere with the flowering process.
6. Repotting and Substrate
Bromeliads don’t need frequent repotting, but they may require it if the substrate degrades or if pups (offshoots) need more space. Here are some tips:
- Substrate: Bromeliads prefer a light, well-draining mix. You can combine potting soil with pine bark or coconut fiber to ensure good drainage.
- Proper pot: Use a pot with good drainage, as bromeliads are prone to root rot if water accumulates. Make sure the base of the plant isn’t sitting in standing water.
- Repot only when necessary: Avoid frequent repotting, as bromeliads don’t like being disturbed.
7. Propagation
Bromeliads can be propagated through pups, which are small offshoots growing at the base of the mother plant. Once these pups reach a suitable size, you can separate them and plant them in their own container:
- Wait until pups are large enough: They should be at least one-third the size of the mother plant before separating.
- Let the cut dry: After cutting the pup, let the wound dry for a day or two to prevent rotting.
- Plant in suitable soil: Use a well-aerated mix similar to the mother plant’s substrate.
8. Common Problems and Solutions
Though bromeliads are quite resilient, they can face issues if not properly cared for:
- Yellow leaves: Often caused by overwatering or insufficient light. Ensure the plant isn’t in direct sun and isn’t getting more water than it needs.
- Brown or scorched leaves: Prolonged exposure to direct sunlight or the use of hard water can lead to this. Move the plant to an area with indirect light and use distilled or rainwater.
- Root rot: Usually a sign of excess watering. Allow the substrate to dry out completely before watering again and ensure good drainage.
9. Enjoy Your Bromeliad
With a bit of attention and care, your bromeliad can thrive for years, adding color and tropical beauty to your home or garden. Its bloom can also last for several months, making it an excellent ornamental plant for any space. Remember that each bromeliad is unique, so observe your plant’s behavior and adjust your care to its specific needs.
So, don’t hesitate to give a bromeliad a special place in your home and enjoy a little piece of tropical nature indoors!